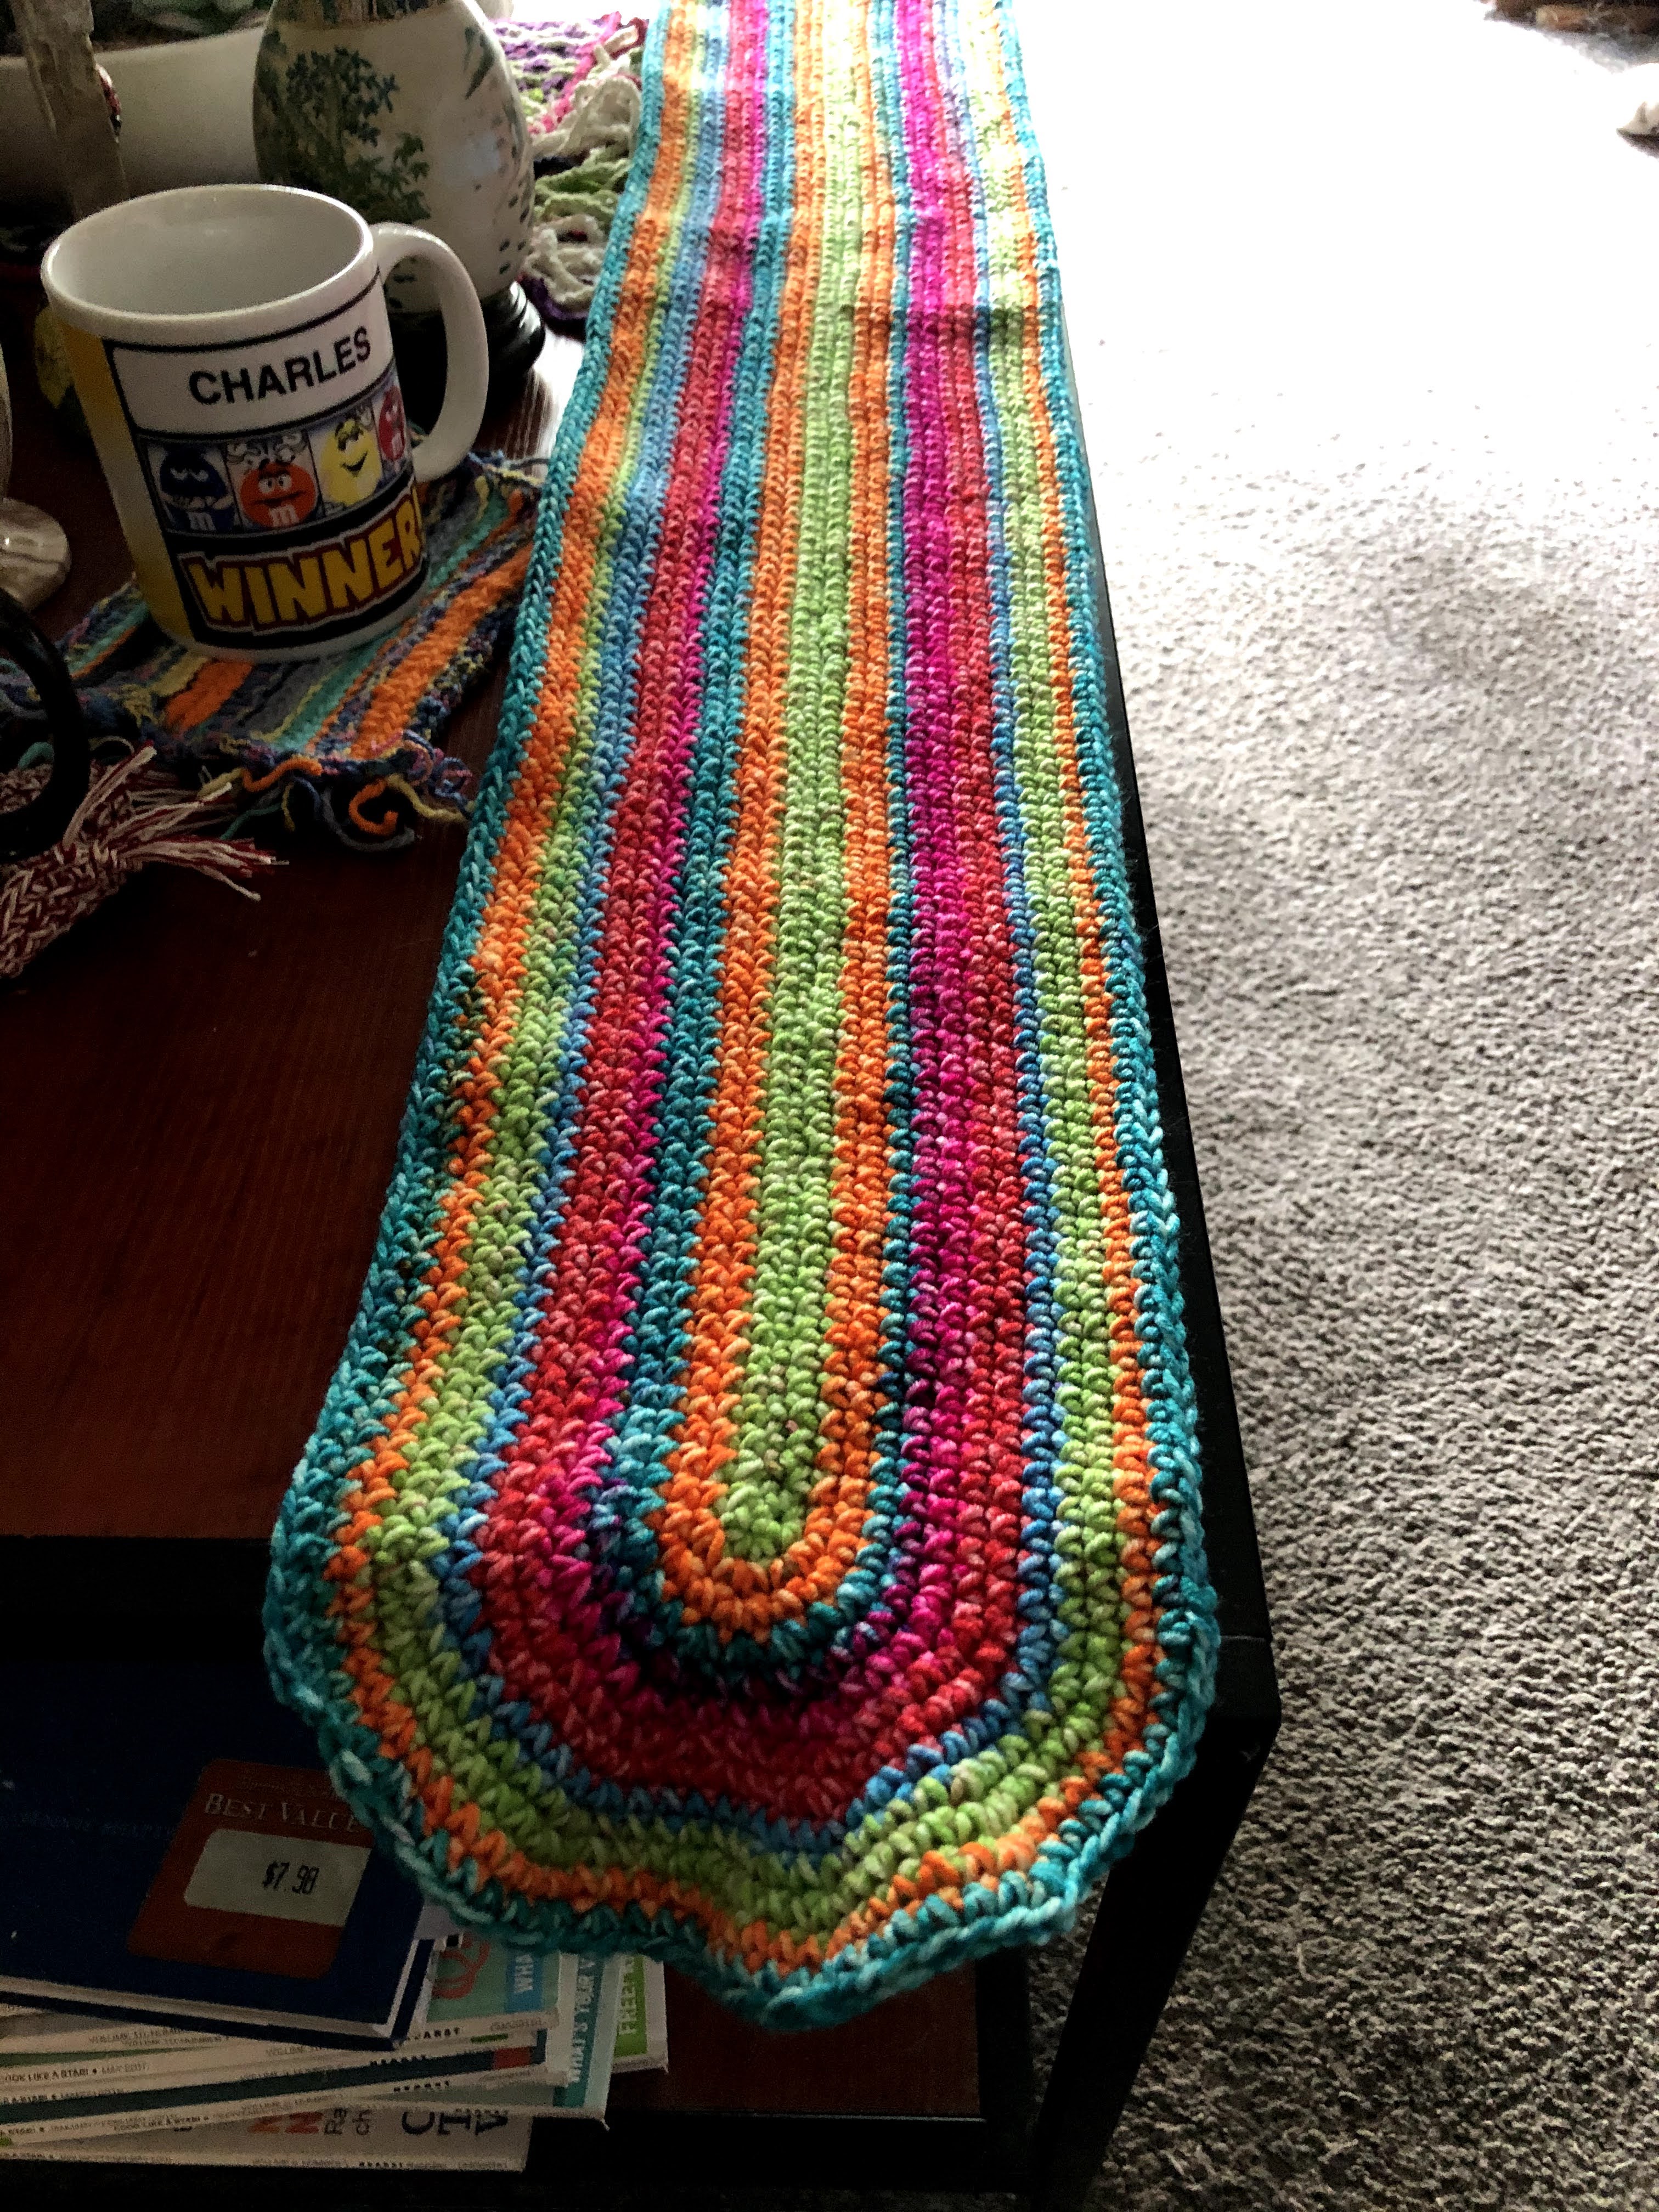
Here I have a table runner which initially started out as a scarf. I just found it better as a table runner However this blog post really isn't about the table runner, it is about after crocheting for almost 30 years I never crocheted in the back bump of the foundation chain. If you don't know what I am talking about, here is a You Tube video that best explains it better than I can:
Working on the bumpy side of the foundation made a huge difference on the outcome of this project.
If you have seen the video already, you will note that working in the bumpy side of the foundation chain makes this nice edge. The projects involves working around on the other side of the foundation chain. As a result, my center of the table runner looked nice and I had no gaps along the foundation chain.

Now looking at the blue scarf I did previously.

Notice that I have a light blue (look white in the photo) chain in the center. That was my fix to fill in the gap I had working on the "pretty side" of the chain. I always had this issue whenever I had to work along the other side of the foundation chain.
I did find it a little difficult to work on the bumpy side, it was just something I was not use too. However I like the end result so much that I will likely do this for now on.
Now I know this wasn't about the pattern, but I will briefly mention how I did this.
I used a self striping yarn, which I think would look the best.
Make a chain of about 150-200 or about 6 inches or so less that the desired length. I just did not count, I just chain long enough for a scarf. in the second chain from the hook do 2 sc ( in the bumpy part of chain of course), sc along the rest of the chain until the last one, do 2 sc in that one. work along the others of the foundation chain in sc until you reach the beginning sc. Don't join, just work in continuous rounds. 2 sc in each of the next 2 sc. sc until you reach the other end. 2 sc in the next 2 sc. sc until you are back at the begging of the round. For now on increase by 4 sc around the edges evenly to get the round oval shape. I pretty much did this until ran out of yarn. I did a slip stitch just before I was about to do the oval at an end.
So I pretty much winged this project.
Here is a close up on nice it looks in the center, which is the green in the middle.

Too complicated for my little brain but the end results are certainly very attractive!
ReplyDelete